A long road trip puts more stress on your car in a few days than months of commuting. A small issue that goes unnoticed at home can leave you stranded on a highway shoulder a hundred miles from the nearest town. Here is a practical checklist you can complete in under half an hour, plus a plan for handling trouble if it finds you anyway.
Tires, Brakes, and Fluids: The Non-Negotiables
Start with your tires. Check the pressure on all four, plus the spare. Use the pressure listed on the driver's door jamb sticker. Inspect tread depth with a penny. If Lincoln's entire head is visible, your tires are too worn for a long trip, especially in rain. Look for cuts, bulges, or uneven wear patterns.
Move to the brakes. A quick visual inspection through the wheel spokes can reveal pad thickness. If you have heard any grinding or squealing recently, have them looked at before departure. Brakes that work fine around town can overheat and fade on long mountain descents.
Now open the hood. Check the engine oil level with the dipstick. Top off if needed. Inspect the coolant reservoir and make sure the level sits between the minimum and maximum marks. Do this when the engine is cold. Check the brake fluid and windshield washer fluid. If you are close to an oil change interval, do it before the trip rather than after.

Air Conditioning, Battery, and Lights
On a summer road trip, a failed AC turns a car into a mobile oven. Run the air conditioning for a few minutes and make sure it blows cold. If airflow is weak or the air smells musty, the cabin air filter may need replacing.
Check the battery terminals for white or bluish corrosion. A loose or corroded connection can cause a no-start condition at the worst possible moment. If your battery is more than three years old, many auto parts stores will test it for free.
Finally, walk around the vehicle with the lights on. Confirm headlights, high beams, turn signals, brake lights, and hazard lights all work. If you will be towing or using a cargo carrier, check those connections as well.
The 20-Minute Pre-Trip Self-Checklist
Use this table as a quick walk-around guide.
Check Area | What to Do | Why It Matters |
|---|---|---|
Tire pressure and tread | Set to door jamb specs, inspect with penny | Proper pressure improves safety, fuel economy, and tire life |
Spare tire and jack | Confirm spare is inflated and jack kit is present | Roadside tire changes require functional tools |
All fluids | Oil, coolant, brake fluid, washer fluid | Low or old fluids can cause engine damage or visibility issues |
Battery terminals | Look for corrosion, ensure tight connection | Prevents unexpected no-start situations |
Lights | Check headlights, taillights, signals, hazards | Safety and legal requirement in all states |
Air conditioning | Run AC at full cold | Comfort and driver alertness on long drives |
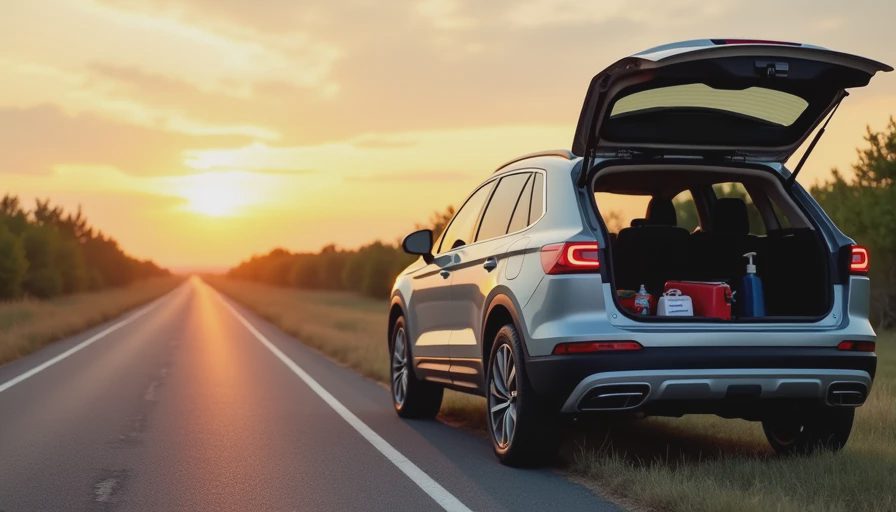
Emergency kit | Confirm jumper cables, flashlight, basic tools, first-aid kit | Provides self-sufficiency until help arrives |
What to Do If Trouble Finds You on the Road
Even a well-prepared car can face a flat tire or warning light far from home. Pull over to a safe spot, turn on your hazard lights, and place reflective triangles or flares if you have them. If you cannot safely change a tire yourself, call roadside assistance and wait inside the vehicle with the doors locked. For a dashboard warning light, refer to your owner's manual immediately. A flashing check engine light or any red warning light means stop driving and seek help. A steady yellow light usually allows you to drive carefully to the nearest town.
Twenty minutes of inspection before you leave removes the most common causes of roadside emergencies. The open road is far more enjoyable when you are not worrying about what might go wrong.


No signals yet — transmit the first.